Capturing the natural texture of wood is a fascinating journey for artists. Knowing the unique traits of each wood type is key to creating real and eye-catching wood textures. Each wood has its own grain patterns, colors, and densities, offering many artistic chances.
Artists find the best results by working from life or using top-notch references. They use various methods, like freehand drawing and shading, to add details like knots and old nails. This brings wood to life on their canvas or paper.
Choosing the right tools, like Prismacolor pencils and heavy paper, is vital. By mastering techniques like changing pencil pressure and layering colors, artists can make wood textures feel real and beautiful.
Key Takeaways
- Understanding the unique properties and characteristics of different wood types is essential for creating authentic wood textures in art.
- Working directly from life or using high-quality reference materials is the best approach for capturing the nuances of wood grain and texture.
- Techniques such as freehand drawing, shading, and adding specific details like knots and cracks can help bring the essence of wood to life on the canvas or page.
- The selection of appropriate tools, including pencils, erasers, and paper, plays a crucial role in achieving the desired wood texture and appearance.
- Mastering techniques like varying pencil pressure, altering the shape of the tip, and layering colors can create a tactile and visually captivating representation of wood’s natural beauty.
Also Read: Is Boat Insurance Mandatory? Rules And Requirements Explained
Understanding Wood Selection and Properties for Artistic Expression
Choosing the right wood is key for artists and craftspeople. They want to use wood’s natural beauty and unique traits. There are many options, like wood panels, hardware woods, and reclaimed pallets, each with its own benefits for art.
Types of Wood for Different Artistic Purposes
Wood panels, both gessoed and un-gessoed, come in many shapes, sizes, and thicknesses. They offer a stable and smooth surface for painting, drawing, and more. Hardware woods, used in construction, are kiln-treated to resist moisture. This makes them a strong choice for woodworking and sculpture.
Reclaimed pallets are also an option. They’re affordable and eco-friendly, but might need extra work to look just right.
Characteristics of Hard vs. Soft Woods
Hardwoods like oak, walnut, and cherry are known for their smooth texture and durability. They’re perfect for painting and other art forms. But, they can be pricier than softwoods.
Softwoods, like pine, cedar, and spruce, are easier to work with. Yet, they might warp or have other problems.
Birch is a favorite among artists. It’s easy to sand and has a uniform grain. This makes it great for highlighting different techniques.
Also Read: What Role Do Universities Play In Driving Academic Innovation?
Importance of Wood Grain Patterns
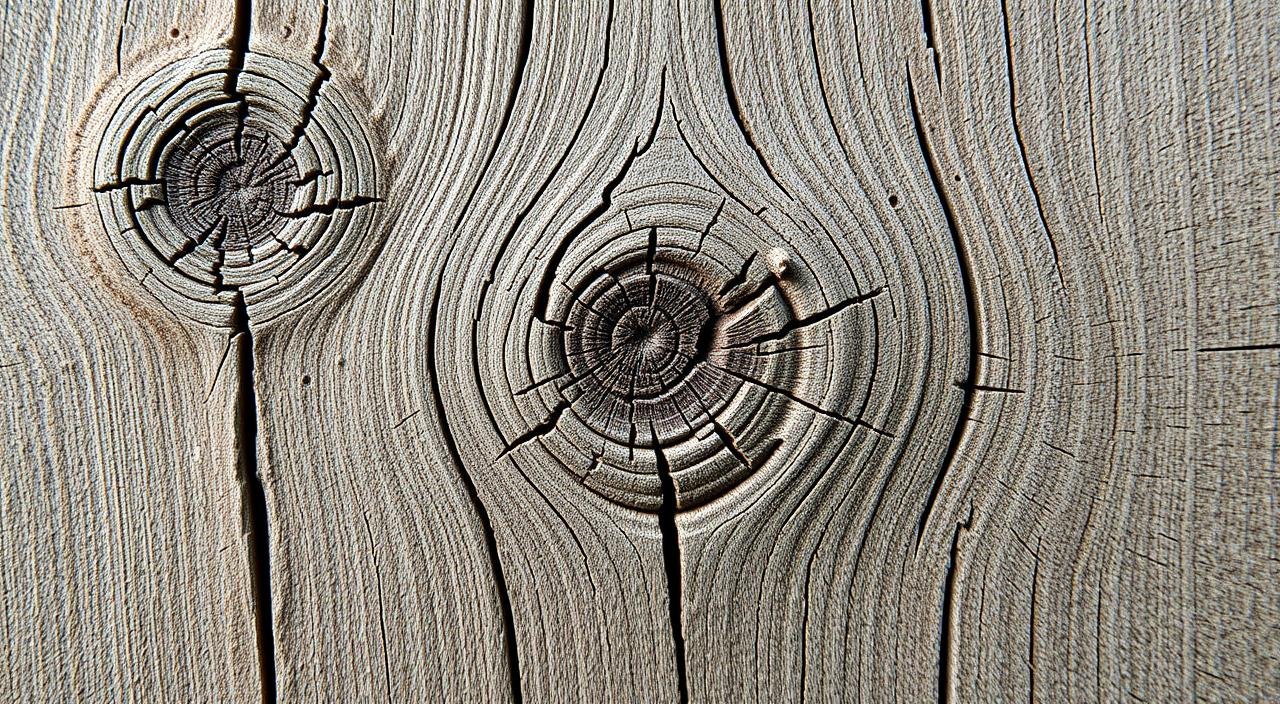
The grain patterns in wood can greatly affect the art. Knowing about straight, wavy, or interlocked grains helps artists choose the right wood. This choice can make their work look smooth or textured.
By picking the right wood and understanding its properties, artists can fully use this natural medium. They can create stunning works that show off wood’s beauty and character.
Essential Tools and Materials for Wood Texture Art

Creating wood texture art needs the right tools and materials. Wood carving tools and acrylic paints are key. Each one helps bring the art to life.
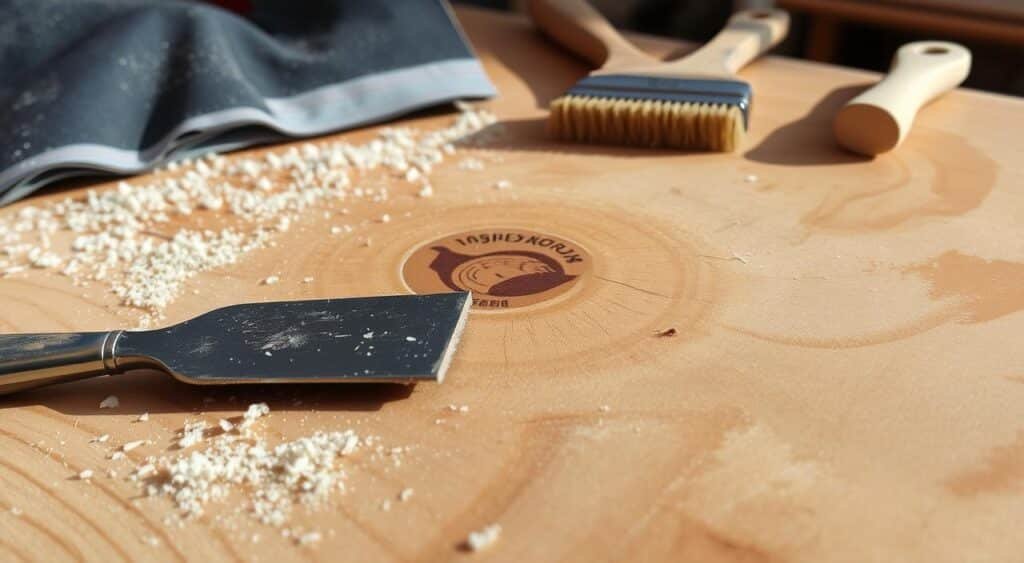
Sandpaper is crucial for wood texture art. It ranges from coarse to fine grit. This lets artists control the wood’s texture and smoothness.
Also Read: How Does Iconography Influence Art And Culture?
Gesso is a versatile primer. It makes the surface smooth for acrylic paints. Gesso comes in white, black, and clear. It can make the wood look matte or glossy.
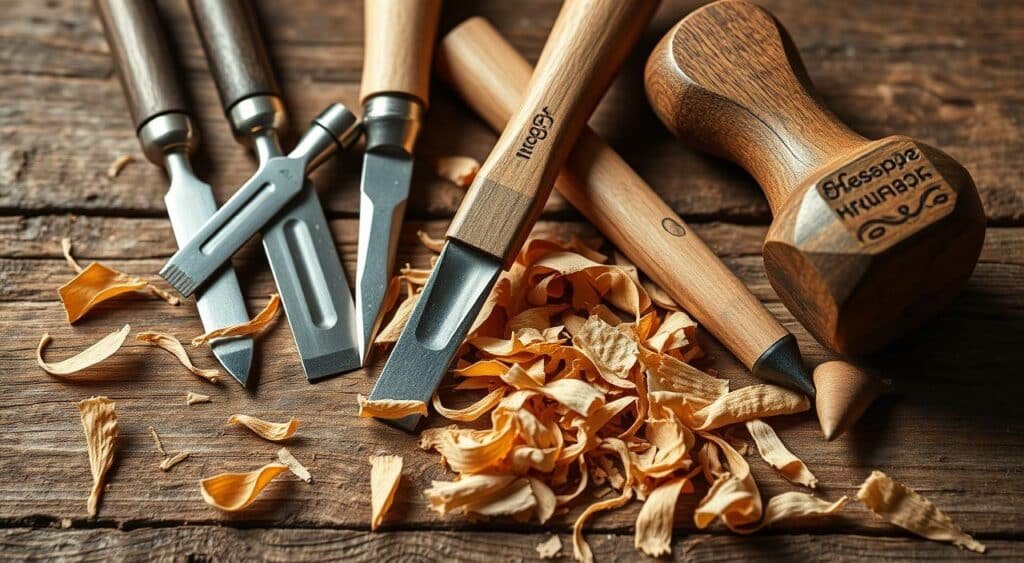
Carving tools are used to shape the wood. They help add depth and interest. Power tools and hand tools are used for different effects.
Acrylic paints are the main medium. They let artists layer colors and try new techniques. Thinning the paints with mediums can create different effects.
Mastering wood texture art means using all these tools well. They help create stunning works of art. Artists can turn simple wood into amazing textures.
| Tool/Material | Purpose | Recommended Specifications |
|---|---|---|
| Sandpaper | Surface preparation and finishing | Grits ranging from 40-60 for rough surfaces to 250-300 for fine finishing |
| Gesso | Priming and surface preparation | Available in white, black, and clear variations |
| Acrylic Paints | Adding color, depth, and texture | Can be thinned with mediums like Novaplex for detailed work |
| Wood Carving Tools | Shaping and adding dimensional texture | Includes chisels, files, angle grinders with carbide burrs, and other power tools |
Also Read: How To Choose The Best Dental Insurance Plans For Your Family
Basic Surface Preparation Techniques

Getting the surface right is key to making wood texture art pop. From sanding to handling moisture and sap, each step is vital. Let’s explore the main techniques artists use to craft their art.
Proper Sanding Methods
Sanding lets artists shape wood’s surface, from rough to smooth. Begin with 80 to 120 grit sandpaper for basic prep. Always sand with the wood grain to avoid marks and get a smooth finish.
For a polished look, move to 220 or 320 grit sandpaper. Use wood filler to cover holes, knots, or cracks before sanding again for a smooth surface.
Applying Gesso and Primers
Gesso is a white primer used with acrylics. Choose from white, black, or clear gesso based on your goal. Apply 1-3 coats, letting each dry before sanding lightly between coats.
Managing Moisture and Sap Issues
Managing moisture is key when working with wood. Make sure the wood is dry, taking 4-6 weeks for recycled or reclaimed wood. Use sealants or resins to protect the wood from sap and paint.
Also Read: Top University Programs For Continuing Education
By learning these basic techniques, artists can bring out wood’s true beauty. They create stunning, textured artworks that highlight the wood’s natural charm.
The Texture of Wood: Drawing and Painting Methods
Capturing wood’s unique texture in art requires different drawing and painting techniques. Artists use sharp-edged erasers and fine-point leads for precision. Drawing with the grain and varying pencil pressures add depth and realism.
Eraser techniques lift highlights, making wood grain look more uneven. This enhances the texture’s illusion.
Also Read: Understanding Feminist Art In Modern Times
Painting wood textures involves following the grain with different colors. Using clear gesso and wiping away acrylic layers can reveal the wood beneath. This creates unique effects. Classical techniques, like those in Byzantine wooden icons, add depth and interactivity.
Mastering wood texture techniques takes practice. Trying various drawing wood grain and painting wood texture methods helps artists improve. This leads to more realistic wood effects in their work.
FAQs
Q: What techniques can I explore to highlight the natural texture of wood in my art projects?
A: You can explore techniques such as using wood texture vectors, applying a rustic design approach, and selecting specific wood species that enhance the grain of the wood. Incorporating elements like light and shadow can also add depth to your piece.
Q: Are there free resources available for wood texture images?
A: Yes, there are many websites that offer free downloads of wood texture images. You can find high-quality wood texture vectors that can be used as backgrounds or elements in your design projects.
Q: How can I get a subtle touch of wood texture in my digital designs?
A: You can achieve a subtle touch of wood texture by overlaying a wood texture vector on a solid background. Adjusting the opacity will allow you to create a light sheen that adds character to any design without overwhelming it.
Q: What is the most popular way to present wood textures in architecture?
A: In architecture, the most popular way to present wood textures is through the use of natural finishes that emphasize the grain of the wood. This can be done by selecting a level surface that showcases the unique characteristics of each piece of wood.
Q: Can I use a wood texture vector in my graphic design work?
A: Absolutely! A wood texture vector can be a valuable resource in graphic design. It can be used as a background image or as part of a design element to provide a rustic feel to your project.
Q: What should I consider when selecting wood texture images for my design?
A: When selecting wood texture images, consider the grain of the wood, the level of detail, and how the texture will interact with other elements in your design. Ensure that the image complements the overall aesthetic you are aiming for.
Q: Are there any specific privacy policies I should be aware of when downloading free wood textures?
A: Yes, it is important to read and accept the privacy policy and terms of agreement on any website from which you download free wood textures. This ensures that you understand how the images can be used and any restrictions that may apply.
Q: How can I add a rustic element to my artwork using wood textures?
A: To add a rustic element to your artwork, consider using wood texture vectors that mimic the appearance of aged or weathered wood. You can layer these textures with other design elements to create depth and a charming, vintage look.
Source Links
- https://emptyeasel.com/2012/09/10/how-to-draw-realistic-wood-grain-details-with-colored-pencils/
- https://www.drawlikeaboss.co.uk/how-to-draw/wood-texture
- https://artmillworkdesign.com/blogs/news/selecting-the-right-wood-for-your-wood-wall-art-project?srsltid=AfmBOor0_sJPQupZamcEqM00SfUDYNDEoKuA1Q_ZyrPA1es12SUw1n97
- https://journeymansjournel.wordpress.com/2024/06/19/understanding-wood-selection-hardwoods-softwoods-and-medium-woods/
- https://vinawoodltd.com/blogs/news/types-of-wood
- https://www.blacktailstudio.com/blog/power-carving-wood-angle-grinder-with-scrap-wood
- https://hardwoodfloorsmag.com/2023/03/31/master-of-textures/
- https://pittsburghsprayequip.com/blogs/pittsburgh-spray-equipment-company/wood-surface-preparation-guide?srsltid=AfmBOoqFsbCK21Ocjf3gWwG8PgNa-i4mLI0BmBcnU0cjuQESwpmdX_bE
- https://thepalettemuse.com/diy-basics-sanding-and-prepping-101/
- https://howtodrawforkids.com/how-to-draw-wood-texture/
- https://thevirtualinstructor.com/blog/how-to-draw-realistic-wood-grain-texture-colored-pencils
- https://woodart.studio/2021/07/23/texture-in-art-for-different-media/


